Saturday, May 9, 2015

Pokemon #182: Bellossom


Difficulty: 3/5 (Moderate)

This week, it's time for one of my favorite Pokemon, Bellossom. Her parts are fairly simple, but there's a lot to make and assemble at the end, so this project will require a lot of patience. It's a good doll to make if you've done a lot of simpler dolls and are looking for more of a challenge. Also, sorry about the poor lighting in some of the pictures - I feel that some really don't do this adorable little doll justice.

Materials 
-Yarn (in addition to the quantities below, you will also need a small amount of black yarn for finishing touches, such as the details on the screws)

  • For regular Bellossom: (A) 6-oz skein of light green, (B) 1.5 6-oz skeins of dark green, (C) 1/2 of a 6-oz skein of yellow, and (D) small amounts of red
  • For a shiny Bellossom:  (A) 6-oz skein of purple, (B) 1.5 6-oz skeins of bright green, (C) 1/2 of a 6-oz skein of pale yellow, and (D) small amounts of pink

-4.5 mm (size 7) crochet hook
-Fiberfill – I recommend a nice, soft variety that's good for stuffed animals
-Yarn needle
-Pins
-Scraps of yarn for round markers
-Materials to make the eyes. This may be any combination of felt and fabric scraps, needle felting materials, or whatever other materials you'd like. Whichever material you choose to use, you will need black, pink, blue, and light blue.

Gauge: Gauge is not important for this work. With the given yarn and hook size, the finished doll will stand about 5 inches (10.6 cm) in height; adjust yarn and/or hook size if a bigger or smaller doll is desired. Just make sure your stitches are of a consistent size and tightness.

Notation (US crochet)

ch: chain 
st: stitch 
sc: single crochet
hdc: half-double crochet
slst: slip stitch
inc: increase stitch (perform 2 sc in the next stitch of the work)
dec: decrease stitch (insert hook into next stitch, yarn over and pull through the stitch. Insert hook into next stitch, yarn over and pull through first loop. Yarn over again, pull through all 3 loops on hook.)
*Note: You do not need to use the same brand or colors of yarn I used, but you should try and pick a 100% acrylic yarn for this doll. Acrylic yarn is generally best for amigurumi dolls as it holds the stiff weave required to maintain the structure of the doll. 


Head and Body
Round 1: With A, 7 sc in starter circle. (7)
Round 2: inc in each st of the round. (14)
Round 3: *sc in next st, inc.* Repeat from * to * around the round. (21)
Round 4: *sc in next 2 st, inc.* Repeat from * to * around the round. (28)
Round 5: *sc in next 3 st, inc.* Repeat from * to * around the round. (35)
Round 6: *sc in next 4 st, inc.* Repeat from * to * around the round. (42)
Round 7: *sc in next 5 st, inc.* Repeat from * to * around the round. (49)
Round 8: *sc in next 6 st, inc.* Repeat from * to * around the round. (56)
Rounds 9-14: sc in each st around (56)
Round 15: *sc in next 6 st, dec.* Repeat from * to * around the round. (49)
Round 16: *sc in next 5 st, dec.* Repeat from * to * around the round. (42)
Round 17: *sc in next 4 st, dec.* Repeat from * to * around the round. (35)
Rounds 18-20: *sc in each st around. (35) Begin to stuff the piece, and continue to do so as you work.
Round 21: *sc in next 4 st, inc.* Repeat from * to * around the round. (42)
Rounds 22-33: *sc in each st around. (42)
Round 24: *sc in next 4 st, dec.* Repeat from * to * around the round. (35)
Round 25: *sc in next 3 st, dec.* Repeat from * to * around the round. (28)
Round 26: *sc in next 2 st, dec.* Repeat from * to * around the round. (21)
Round 27: *sc in next st, dec.* Repeat from * to * around the round. (14)
Round 28: dec around until closed. (7) Finish off, leaving trail.

Arms (Make 2)
Round 1: With A, 5 sc in starter circle. (5)
Round 2: inc in each st of the round. (10)
Round 3: *sc in next st, inc.* Repeat from * to * around the round. (15)
Rounds 4-10: sc in each st around. (15) Finish off, leaving trail. Stuff the piece.

Skirt Leaves (Make 8 with B, and 4 with C)
Round 1: With (B or C), 6 sc in starter circle. (6)
Round 2: inc in each st of the round. (12)
Round 3: *sc in next st, inc.* Repeat from * to * around the round. (18)
Round 4: *sc in next 2 st, inc.* Repeat from * to * around the round. (24)
Round 5: *sc in next 3 st, inc.* Repeat from * to * around the round. (30)
Round 6: *sc in next 4 st, inc.* Repeat from * to * around the round. (36)
Round 7: *sc in next 5 st, inc.* Repeat from * to * around the round. (42)
Rounds 8-14: sc in each st around. (42)
Round 15: *sc in next 5 st, dec.* Repeat from * to * around the round. (36)
Round 16: sc in each st around. (36)
Round 17: *sc in next 4 st, dec.* Repeat from * to * around the round. (30)
Round 18: sc in each st around. (30)
Round 19: *sc in next 3 st, dec.* Repeat from * to * around the round. (24)
Round 20: *sc in next 2 st, dec.* Repeat from * to * around the round. (18)
Round 21: *sc in next 1 st, dec.* Repeat from * to * around the round. (12)
Round 22: dec around until closed. (6) Finish off, weave in ends, and flatten. Do not stuff.

Flowers (Make 2)
The flowers consist of 2 components: a single "center" piece and 5 "petal" pieces, which you will assemble when you put the doll together at the end of the project

1. Flower Center (Make 1)
Round 1: With (C), 6 sc in starter circle. (6)
Round 2: inc in each st of the round. (12)
Round 3: *sc in next st, inc.* Repeat from * to * around the round. (18) Finish off, leaving trail.

2. Flower Petals (Make 5)
*For this part, work in regular crochet rather than rounds.*
Row 1: ch 6 (6) Turn.
Row 2: sc in second ch from hook. sc in remaining st of the row. (5)
Rows 3-7: Repeat Row 2. (5) Finish off, leaving trail.

Flower assembly: Use a yarn needle and a whipstitch to sew the petals together at round 2 of the center piece. You should also sew the first few rows of adjacent petals together; this will help make the petals look continuous when you're finished with the flowers.

Assembly: Begin by attaching the skirt to the doll, since it is the trickiest part of the assembly. It is added in three layers, each of which needs to be sewed down before you add the next layer. Be careful with your placement, and make sure to pin everything down before you start sewing.

1. Layer 1: This layer will consist of four green leaf pieces, as pictured in the photo below. The trick is to start with two leaves on opposite sides of the doll, then adding two more perpendicular to the first pair. This will give the skirt a nice, consistently round shape. Also, you only want to sew down the first four rounds of the leaf pieces to the body of the doll; allowing the bottom 3/4 of the leaf to remain free helps keep the skirt flexible and "swishy" like a real skirt.

2. Layer 2:  The second layer is made of four yellow pieces. Attach them the same way you did the first layer's leaves, two at a time on opposite sides of the doll. The yellow leaves will be staggered with the green leaves in layer 1, as shown in the images below

3. Layer 3: The final layer is made using the last for green leaves. You should be an expert at this process by now, so repeat it again. This final layer should be staggered with the pieces in the yellow layer, as shown in the image below.

Finally, attach the arms and flowers to the body.

Finishing touches: Bellossom's finishing touches are the details on her face. Her eyes are simple black circles with dark blue and white highlights. I ran out of white, so I used light blue in those parts instead. The mouth can be styled however you wish, but it should be small and cute. I did a super smiley face with a black base and pink interior. Finally, add a few rosy circles to her cheeks to really emphasize how happy she is.

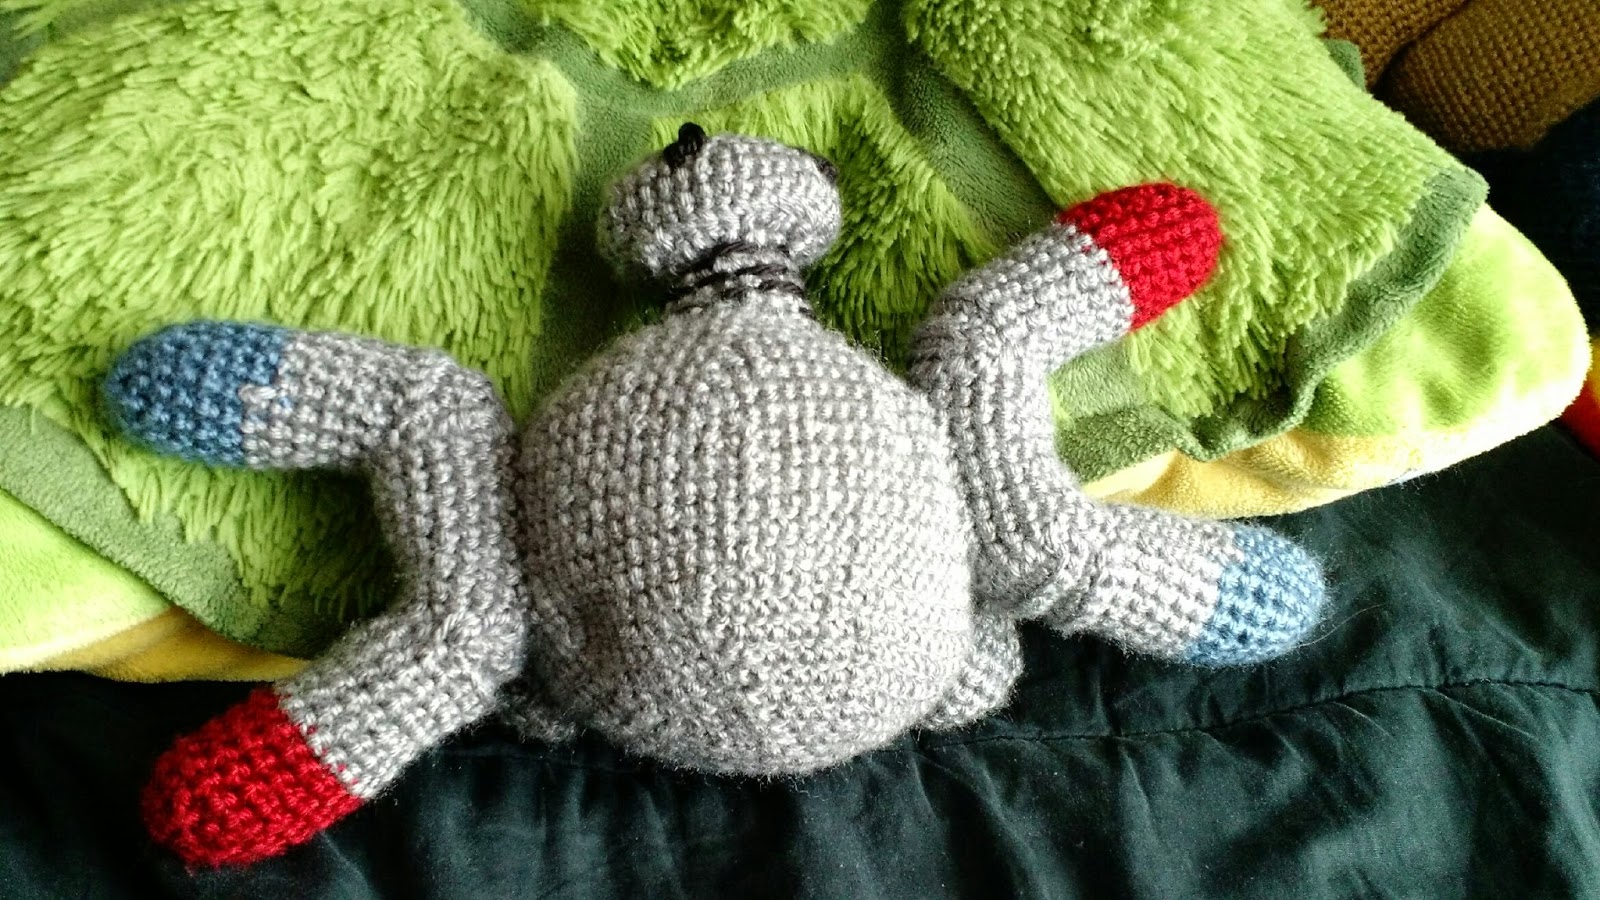
And that's it! Below are some extra images to help you assemble your doll.


Sunday, April 26, 2015

Pokemon #081: Magnemite


Difficulty: 2/5 (Beginner)
I'm back! With a Magnemite! This little guy is super cute, if a little complicated due to the strange shapes on some parts of his body. It felt great to be able to make him after my long hiatus from crochet.

If you need any help, have a correction to make, or would just like to leave a comment as always feel free to email me at 2DCuttlefish@gmail.com or leave a comment in the comment section at the end of this page.

Materials 
-Yarn (in addition to the quantities below, you will also need a small amount of black yarn for finishing touches, such as the details on the screws)

  • For regular Magnemite: (A) 1/2 of a 6-oz skein of gray, (B) 1/8 of a 6-oz skein of red, (C) 1/8 of a 6-oz skein of blue,  (D) 1/8 of a 6-oz skein of white, and (E) small amounts of black yarn
  • For a shiny Magnemite: (A) 1/2 of a 6-oz skein of gold, (B/C) 1/8 of a 6-oz skein of black  (D) 1/8 of a 6-oz skein of white, and (E) small amounts of black yarn

-4.5 mm (size 7) crochet hook
-Fiberfill – I recommend a nice, soft variety that's good for stuffed animals
-Yarn needle
-Pins
-Scraps of yarn for round markers

Gauge: Gauge is not important for this work. With the given yarn and hook size, the finished doll will stand about 5 inches (10.6 cm) in height; adjust yarn and/or hook size if a bigger or smaller doll is desired. Just make sure your stitches are of a consistent size and tightness.


Notation (US crochet)

ch: chain
st: stitch
sc: single crochet
hdc: half-double crochet
slst: slip stitch
inc: increase stitch (perform 2 sc in the next stitch of the work)
dec: decrease stitch (insert hook into next stitch, yarn over and pull through the stitch. Insert hook into next stitch, yarn over and pull through first loop. Yarn over again, pull through all 3 loops on hook.)
*Note: You do not need to use the same brand or colors of yarn I used, but you should try and pick a 100% acrylic yarn for this doll. Acrylic yarn is generally best for amigurumi dolls as it holds the stiff weave required to maintain the structure of the doll.  


Body
Round 1: With A, 8 sc in starter circle. (8)
Round 2: 2 sc in each st around. (16)
Round 3: *sc in next st, inc.* Repeat from * to * around. (24)
Round 4: *sc in next 2 st, inc.* Repeat from * to * around. (32)
Round 5: *sc in next 3 st, inc.* Repeat from * to * around. (40)
Round 6: *sc in next 4 st, inc.* Repeat from * to * around. (48)
Round 7: *sc in next 5 st, inc.* Repeat from * to * around. (56)
Round 8: *sc in next 6 st, inc.* Repeat from * to * around. (64)
Round 8: *sc in next 7 st, inc.* Repeat from * to * around. (72)
Round 8: *sc in next 8 st, inc.* Repeat from * to * around. (80)
Rounds 9-16: sc in each st around. (80)
Round 17: *sc in next 8 st, dec.* Repeat from * to * around. (72)
Round 18: *sc in next 7 st, dec.* Repeat from * to * around. (64)
Round 19: *sc in next 6 st, dec.* Repeat from * to * around. (56)
Round 20: *sc in next 5 st, dec.* Repeat from * to * around. (48)
Round 21: *sc in next 4 st, dec.* Repeat from * to * around. (40)
Round 22: *sc in next 3 st, dec.* Repeat from * to * around. (32)
***Begin stuffing the piece with fiberfill. Continue to do so as you work.***
Round 23: *sc in next 2 st, dec.* Repeat from * to * around. (24)
Round 24: *sc in next st, dec.* Repeat from * to * around. (16)
Round 25: dec around until closed. Finish off, leaving trail.


Top Screw (Make 1)
This part consists of 3 separate pieces that you will assemble prior to attaching them to the main body.

1. Part 1: Screw top 
      Round 1: With A, 6 sc in starter circle. (6)
      Round 2: 2 sc in each st around. (12)
      Round 3: *sc in next st, inc.* Repeat from * to * around. (18)
      Round 4: *sc in next 2 st, inc.* Repeat from * to * around. (24)
      Round 5: *sc in next 3 st, inc.* Repeat from * to * around. (30)
      Round 6: *sc in next 4 st, inc.* Repeat from * to * around. (36)
      Rounds 7-8:sc in each st around. (36) Finish off, leaving trail.
  
2. Part 2: Screw bottom
      Round 1: With A, 6 sc in starter circle. (6)
      Round 2: 2 sc in each st around. (12)
      Round 3: 2 sc in each st around. (24)
      Round 4: *sc in next st, inc.* Repeat from * to * around. (30) Finish off, leaving trail.

3. Part 3: Screw "stem"
      Round 1: With A, ch 20. (20) Use a slst to connect the current st to the first st and make
      a ring.

      Rounds 2-5: sc in each st around. (20) Finish off, leaving trail.

4. Assembly: Stuff the "screw cap" piece with fiberfill. Then, using a yarn needle, sew the three parts together according to the diagram below.

Once assembled, add some fiberfill to the screw's stem to give it some shape


Bottom Screw (Make 2)
The methodology to make these screws, which are sort of like Magnemite's hands, is similar to that used to make the top screw; the only difference is that these screws will be smaller, and lack a "stem" part.

1. Part 1: Screw top 
      Round 1: With A, 6 sc in starter circle. (6)
      Round 2: 2 sc in each st around. (12)
      Round 3: *sc in next st, inc.* Repeat from * to * around. (18)
      Round 4: *sc in next 2 st, inc.* Repeat from * to * around. (24)
      Rounds 5-6: sc in each st around (24) Finish off, leaving trail.
  
2. Part 2: Screw bottom
      Round 1: With A, 6 sc in starter circle. (6)
      Round 2: 2 sc in each st around. (12)
      Round 3: 2 sc in each st around. (24) Finish off, leaving trail.

3. Assembly: Attach the screw cap to the screw bottom using the same method you used to attach the cap and bottom pieces of the top screw. These screws lack a stem piece, so they should look like little buttons when you're finished with them.

Eye (Make 1)
Round 1: With E, 10 sc in starter circle. (10) Switch to D in the last st of the round.
Round 2: 2 sc in each st around. (20)
Round 3: *sc in next st, inc.* Repeat from * to * around. (30)
Round 4: *sc in next 2 st, inc.* Repeat from * to * around. (40)
Round 4: *sc in next 3 st, inc.* Repeat from * to * around. (50) Finish off, leaving trail.


Magnet (Make 2)
Much like the screws, the magnets consist of several parts that you will need to assemble.

1. Part 1: Red end
      Round 1: With B, 6 sc in starter circle. (6)
      Round 2: 2 sc in each st around. (12)
      Round 3: *sc in next st, inc.* Repeat from * to * around. (18)
      Rounds 4-7: sc in each st around. (18) Change to A in the final st of the round.
      Rounds 8-13: sc in each st around. (18) ch 1, turn. From here on, work in regular 
      crochet rather than rounds.
      Row 1: sc in next 12 st. (12) ch 1, turn.
      Rows 2-3: Repeat row 1. (12) Finish off, leaving trail.

2. Part 2: Blue end
      Round 1: With C, 6 sc in starter circle. (6)
      Round 2: 2 sc in each st around. (12)
      Round 3: *sc in next st, inc.* Repeat from * to * around. (18)
      Rounds 4-7: sc in each st around. (18) Change to A in the final st of the round.
      Rounds 8-13: sc in each st around. (18) ch 1, turn. From here on, work in regular 
      crochet rather than rounds.
      Row 1: sc in next 12 st. (12) ch 1, turn.
      Rows 2-3: Repeat row 1. (12) Finish off, leaving trail.
3. Part 3: Connecter piece
      Round 1: With A, ch 18. (18) Use a slst to connect the end of the chain to the  
      beginning, creating a loop
      Rounds 2-9: sc in each st around. (18) Finish off, leaving trail.

4. Assembly: Stuff the red and blue ends with fiberfill. Using a yarn needle, sew the three parts together according to the diagram below. As you sew the ends to the connector piece, make sure you stuff the connecter piece as well.


Final Assembly
Pin all of the pieces together, as shown in the images provided at the end of this page. This will help you ensure that everything is being placed where it should be prior to sewing. When you're happy with the placement, use a yarn needle and a whipstitch to assemble the pieces together.

Finishing Touches
Screw treads: I made the black treads on Magnemite's top screw via embroidery with black yarn, but you can make them however you wish (felt, needle-felting, crochet chains, etc.)

Screw "X's": Each x-shape on the top of the screws was made from two short crochet chains that I sewed to the doll with a yarn needle. Similarly to the treads, however, you can make these details however you wish.

Further images have been provided below for you to reference while creating your doll.