
Difficulty: 2/5
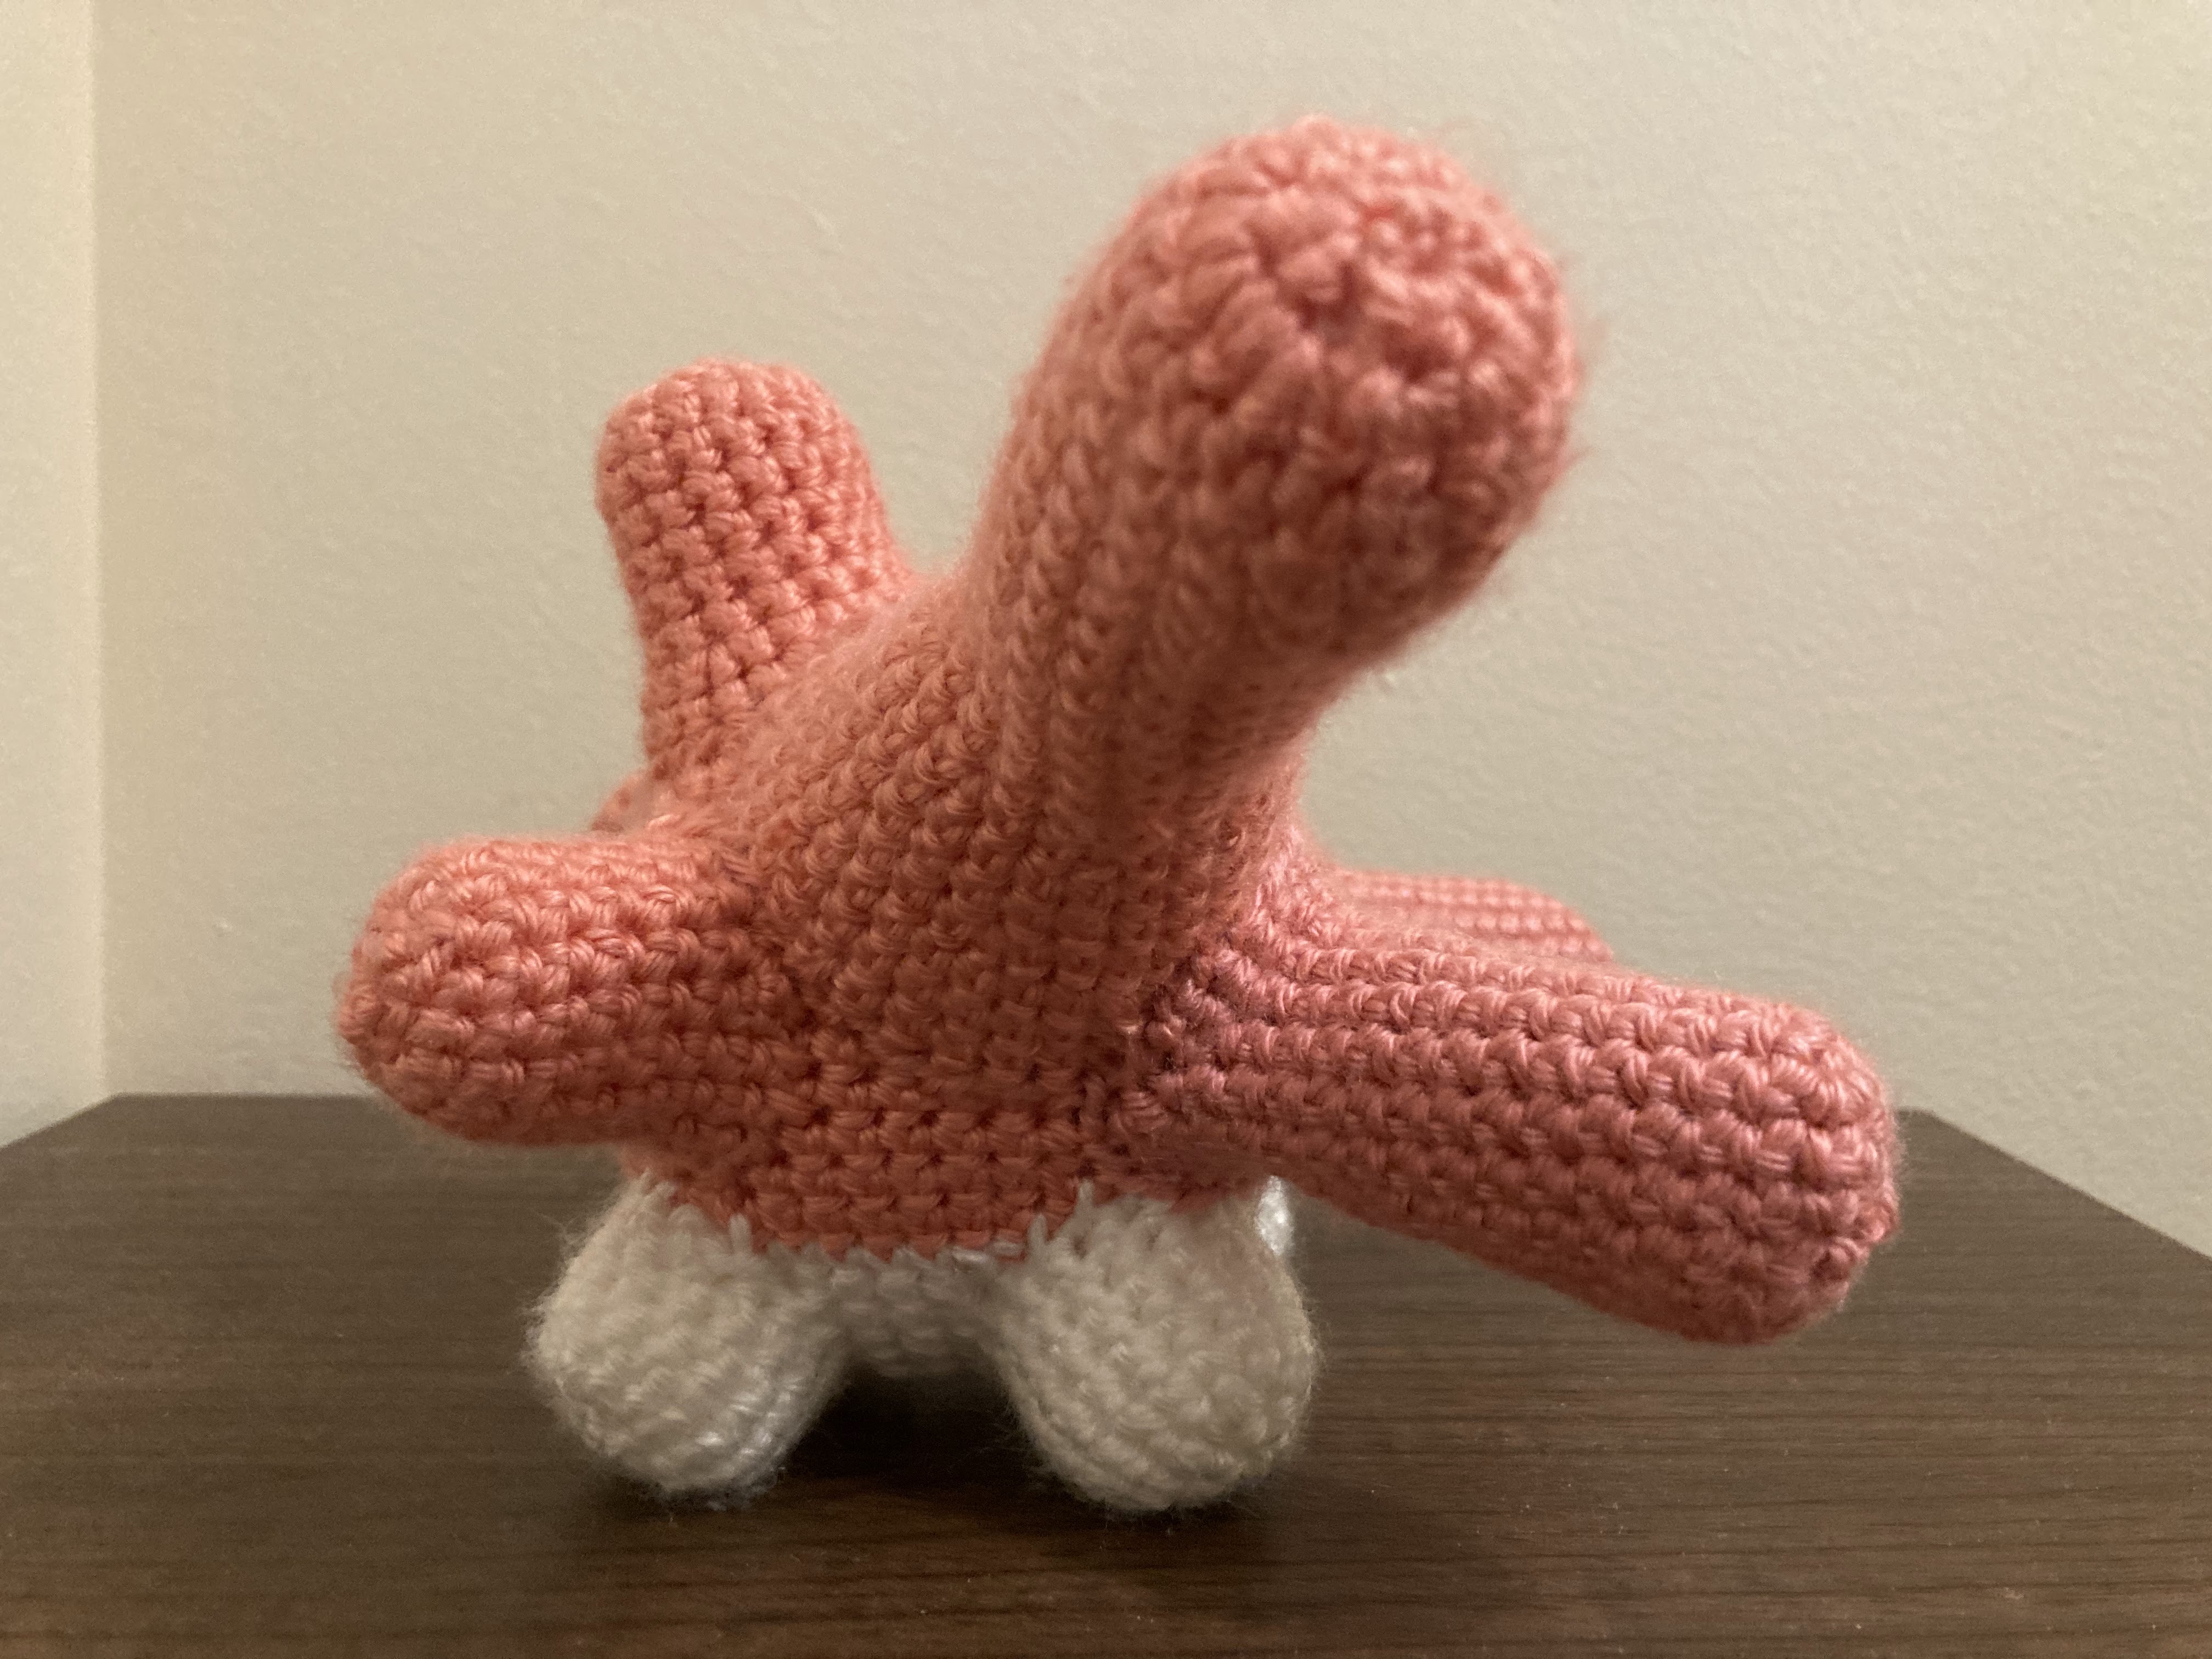
Today's pattern is Corsola! This squishy pink sweetie is one of my favorites from Gen 2, so I've been looking forward to making a pattern for it. It's a beginner-friendly pattern made from simple shapes, but the assembly is just tricky enough that I bumped up the difficulty a point. Make one or make a bunch - you can make your own Corsola reef if you'd like!
As a side note, I made the branches thicker in this pattern to go for a slightly more chibi look. If you want thinner branches to make a shape more consistent with the in-game models, use a smaller starter circle for the branch pieces (4 st instead of 8 st) and adjust the pattern accordingly. This is a good pattern to practice adjusting patterns so you can learn how to customize to your preferences.
Happy Crafting!
Materials
-Yarn.
Use a worsted weight in a material of your choice. I use acrylic for my
doll patterns due to its firm weave, which provides the doll with some
structure. You will need:
For regular Corsola: (A) ~150m of coral pink, (B) ~20m of white
For a shiny Corsola: (A) ~150m of aqua blue, (B) ~20m of white
-4.5 mm (size 7) crochet hook
-Fiberfill or crafting scraps for stuffing
-Yarn needle
-Pins
-Scraps of yarn for round markers
-Scraps
of felt or fabric for details such as eyes. I use needle felting for
this, but you can also cut out pieces of fabric if you prefer.
Gauge:
Gauge is not important for this work. With the given yarn and hook
size, the finished doll will stand about 6.5 inches (16.5 cm) in height;
adjust yarn and/or hook size if a bigger or smaller doll is desired.
Just make sure your stitches are of a consistent size and tightness.
Notation (US crochet)
ch: chain
st: stitch
sc: single crochet
hdc: half-double crochet
slst: slip stitch
inc: increase stitch (perform 2 sc in the next stitch)
dec:
decrease stitch (insert hook into next stitch, yarn over and pull
through the stitch. Insert hook into next stitch, yarn over and pull
through first loop. Yarn over again, pull through all 3 loops on hook.)
Pattern
Body (Make 1)
Round 1: With A, 6 sc in starter circle (6)
Round 2: inc in each st around (12)
Round 3: *sc in next st, inc* Repeat from * to * around. (18)
Round 4: *sc in next 2 st, inc* Repeat from * to * around. (24)
Round 5: *sc in next 3 st, inc* Repeat from * to * around. (30)
Round 6: *sc in next 4 st, inc* Repeat from * to * around. (36)
Round 7: *sc in next 5 st, inc* Repeat from * to * around. (42)
Round 8: *sc in next 6 st, inc* Repeat from * to * around. (48)
Round 9: *sc in next 7 st, inc* Repeat from * to * around. (54)
Rounds 10-18: sc around. (54) Switch to color B.
Round 19: *sc in next 7 st, inc* Repeat from * to * around. (48)
Round 20: *sc in next 6 st, inc* Repeat from * to * around. (42)
Round 21: *sc in next 5 st, inc* Repeat from * to * around. (36)
Round 22: *sc in next 4 st, inc* Repeat from * to * around. (30)
Round 23: *sc in next 3 st, inc* Repeat from * to * around. (24) Begin to stuff, and continue to do so as you work.
Round 24: *sc in next 2 st, inc* Repeat from * to * around. (18)
Round 25: *sc in next st, inc* Repeat from * to * around. (12)
Round 26: dec around (6)
Round 27: dec around until closed. Finish off, and weave in ends.
Small horn (Make 1)
Round 1: With A, 8 sc in starter circle (8)
Round 2: inc in each st around (16)
Rounds 3-8: sc around. (16)
Round 9: *sc in next st, inc* Repeat from * to * around. (24)
Round 10: sc around. (24) Finish off, leaving tail. Stuff firmly, but do not overstuff.
Medium horn (Make 2)
Round 1: With A, 8 sc in starter circle (8)
Round 2: inc in each st around (16)
Rounds 3-14: sc around. (16)
Round 15: *sc in next st, inc* Repeat from * to * around. (24) Finish off, leaving tail. Stuff firmly, but do not overstuff.
Large horn (Make 2)
Round 1: With A, 8 sc in starter circle (8)
Round 2: inc in each st around (16)
Rounds 3-15: sc around. (16)
Round 16: *sc in next st, inc* Repeat from * to * around. (24)
Rounds 17-18: sc around. (24)
Round 19: *sc in next 2 st, inc* Repeat from * to * around. (32)
Rounds 20-22: sc around. (32) Finish off, leaving tail. Stuff firmly, but do not overstuff.
Horn branches (Make 8)
Round 1: With A, 4 sc in starter circle. (4)
Round 2: inc in each st around. (16)
Round 3: *sc in next st, inc* Repeat from * to * around. (12)
Rounds 4-6: sc in each st around (12)
Round 7: *sc in next 2 st, inc* Repeat from * to * around. (16) Finish off, leaving tail. Stuff firmly, but do not overstuff.
Arms (Make 2)
Round 1: With A, 8 sc in starter circle (8)
Round 2: inc in each st around (16)
Rounds 3-8 sc around. (16) Finish off, leaving tail. Stuff firmly, but do not overstuff.
Legs (Make 4)
Round 1: With B, 8 sc in starter circle (8)
Round 2: inc in each st around (16)
Rounds 3-6 sc around. (16) Finish off, leaving tail. Stuff firmly - these will support the weight of the doll, so they need to be sturdy.
Assembly
1. Pin and whip stitch the legs to the body. You’ll want to space them out equally in the shape of a square, to evenly distribute the doll’s weight.


No comments:
Post a Comment